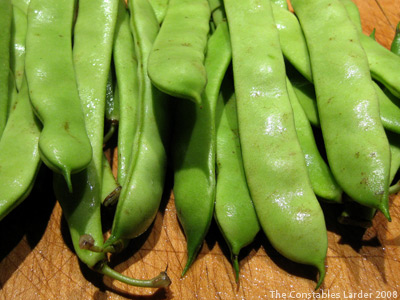
I discovered romano beans earlier this summer at our local farm in the Catskills and have been going back to them ever since, usually quick-sauteing or parboiling with minimal treatment such as lemon or a small amount of butter, or including in a cold tomato salad. I had not thought of slow cooking them with a rich sauce, but that’s where this bubbling fount of ideas called the food blogosphere comes in. Smitten Kitchen caught a New York Times article that I missed and brought this approach to my attention. So thanks Deb!
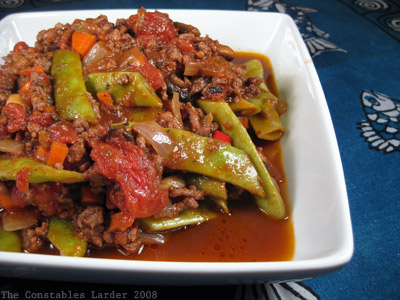
Tonight I wanted a hearty “one pot” meal, so I took a kind of bolognese approach and the result was delicious and filling.
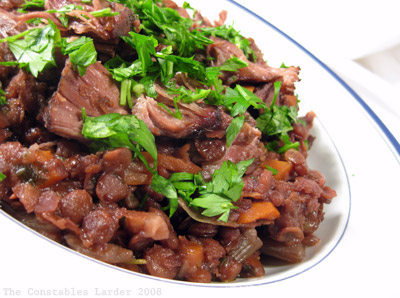
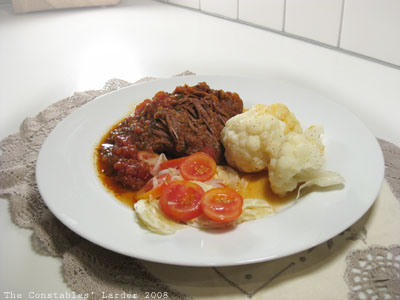
Romano Beans in Meat Sauce
serves 2
2 handfuls of romano beans
1/2 lb ground beef
1/2 onion, diced
1 carrot, diced
2 large white mushrooms, or handful of smaller, diced
6 skinless plum tomatoes
1/3 cup tomato puree
1/2 cup red wine
1/3 cup of water
oregano
sage
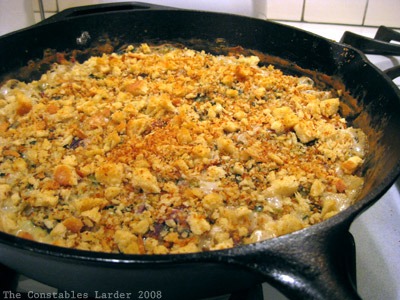
In a large saute pan, pour in a touch of olive oil and brown your ground beef, then set aside. Add a touch more olive oil, and saute the onions, then add the carrots and mushrooms and cook for several minutes. Add in the whole plum tomatoes without breaking them open yet, add the tomato puree, and return the ground beef to the pan.
Add a couple pinches of salt and ground pepper, a couple pinches of dried oregano (or a bit more if using fresh), and a pinch of dried sage. Add the wine and water (or if using canned tomatoes, as I did, some of the juice from the can). Stir gently so as not to break open the tomatoes, loosely cover and let cook on medium low heat for 10 minutes.
While this is cooking, wash the beans, cut off the ends, and cut the beans themselves to 2″ length or so to make more manageable to eat. A nice aesthetic touch I picked up from Alice Waters’ The Art of Simple Food is to slice the romano beans at a consistent 45 degree angle.
Break apart the tomatoes and taste for spices. Stir the beans into the pan, loosely cover, and cook on low heat for 30 or 40 minutes.
Part 2
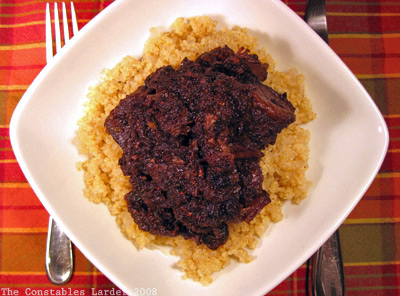
Cuban Black Beans
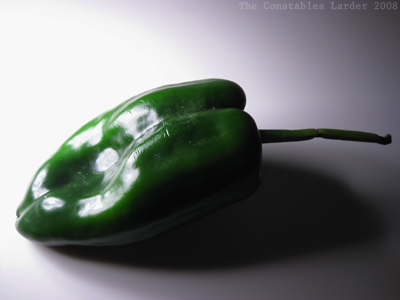
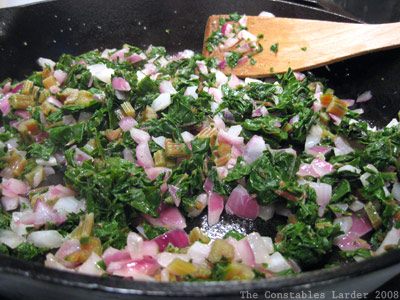
I’ve already blogged this marvelous black bean recipe from Gregory Triana of Blue Cashew in High Falls, NY, so am just going to write a few notes here. Sunday was miserably humid outside, so we took refuge in air conditioning and that made making the beans possible. If you know you can be somewhat near your kitchen over a few hours, this is a great recipe for black beans, with a fabulous sofrito of green pepper and onion. See the recipe here. And you know I love Low and Slow cooking!
I make it differently almost every time, and often bump up the amount of green pepper, onion and cumin from the recipe. Making it is work, no question, but once made there are so many uses that are usually incredibly fast to put together.
You can make great quesadillas, by adding some corn, scallions, hot peppers of some kind, cilantro, shredded monterey jack cheese, and in my case, some smoked ham: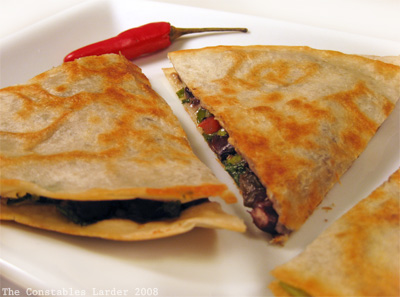
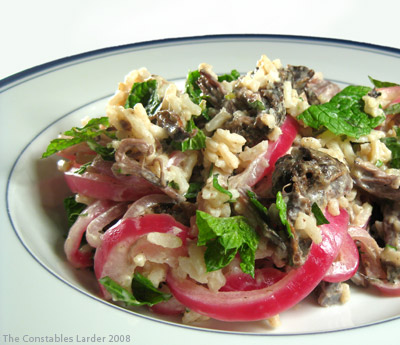
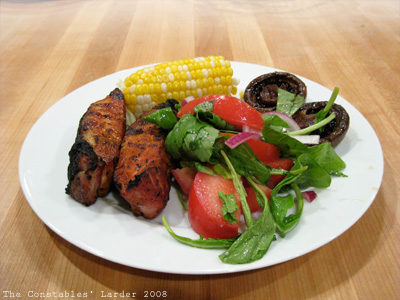
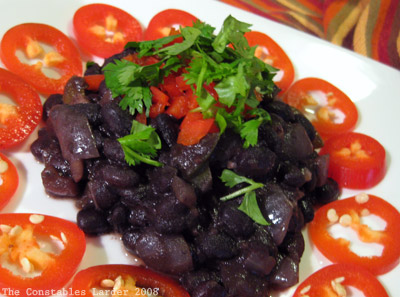
You can serve it as a side dish (that’s a sliced red jalapeno around it):
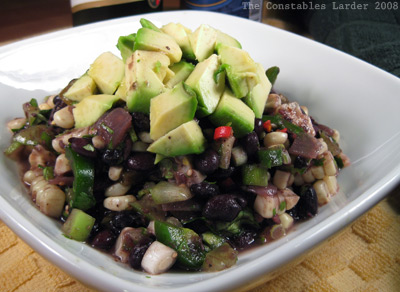
I’ll also mix it into a salsa, such as the below which has chopped tomatillos, a jalapeno, a red hot chili pepper, fresh corn niblets, cilantro, and the juice of two limes (obviously topped with some avocado). I think it’s an ugly picture (nothing to see here folks, move along!), but it tastes great with some chips!
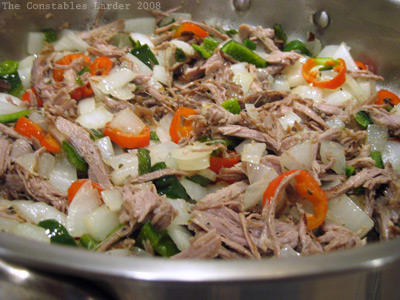
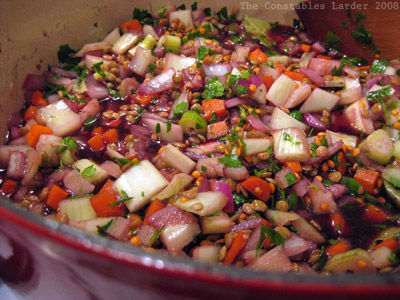
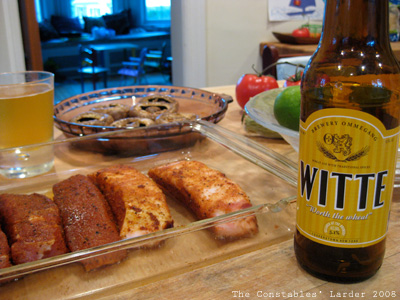
And finally, this picture has no bearing whatsoever, except that I snapped a pic of some ingredients going into the black beans and liked it: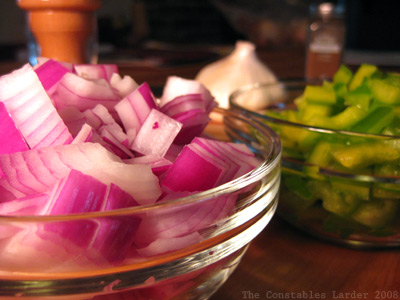
Why is it that tomatoes spelled with an “e” and tomatillos is spelled without? Ponder.