This has been a busy work week, so it is time to catch up. First off, I was glad to see the very positive reception to my note to the Foodbuzz community, calling for restraint with the “send to a friend” feature, which was leading to email overload.
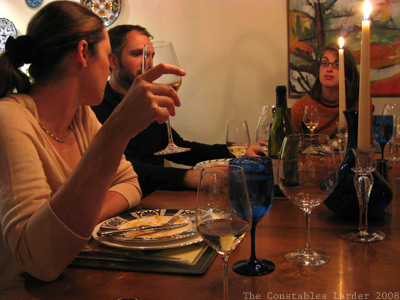
Second, I had a very enjoyable meetup with a great group of bloggers at Batali’s Lupa restaurant. That’s Kalofagas (whose being in town brought this gang together), Colloquial Cookin, Bacon & Rhubarb, Chefs Gone Wild, and Stacey Snacks below.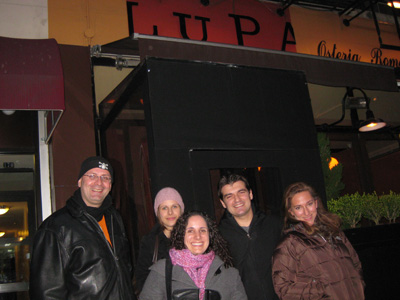
It was a very friendly, unpretentious group of people and the conversation ranged all over the map. I had not been back to Lupa for about 8 or 9 years since its early days, and I have to say that I had an absolutely fabulous meal. The wine complemented my advil mercifully (I think it was a bit more walking than I was ready for, but I wasn’t going to miss meeting this bunch!).
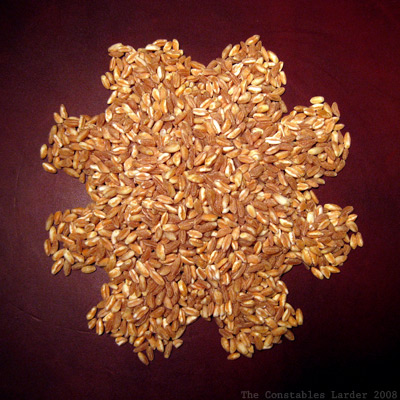
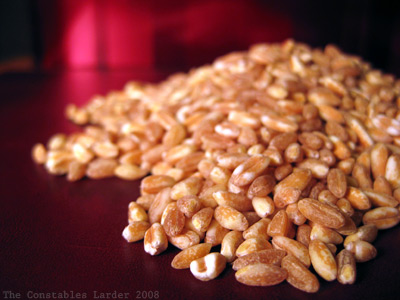
Now, on to a vegetarian dish that I made earlier this week, adapted from a recipe by Lorna Sass in the Rancho Gordo cookbook (I thought I would give it another shot). I have discovered I really like farro. I find this word “farroto” to be rather amusing — it means farro cooked like risotto. I can’t decide if it is silly, harmless or pretentious, but I do admit that it is catchy and makes me laugh.
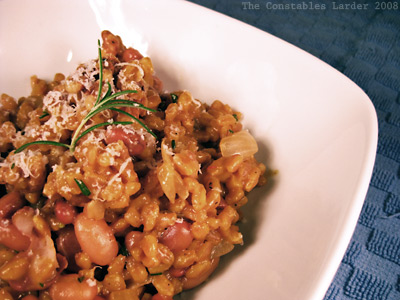
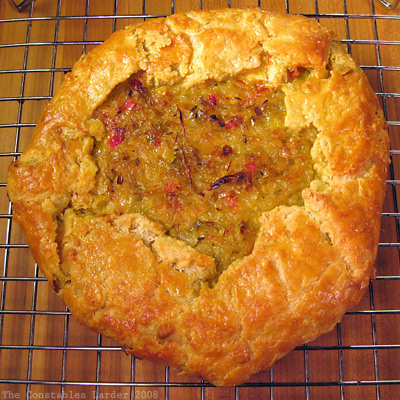
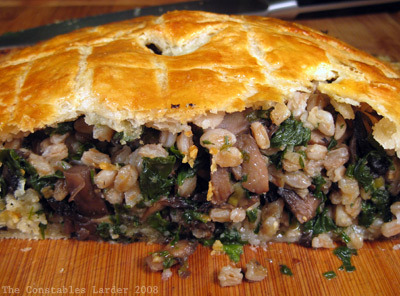
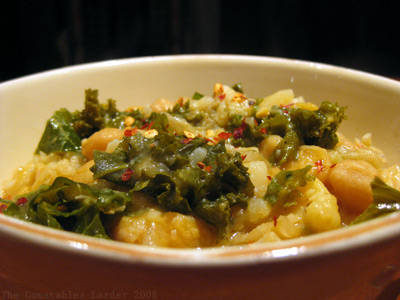
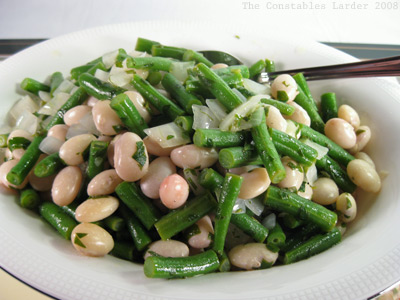
Farroto with Walnuts, Pecorino and Beans
With the recipe, I had to change a few things (including not having a pressure cooker or scarlet runner or marrow beans), and the result was healthy, filling and had a nice, nutty flavor. I enjoyed it quite a bit (including the leftovers for lunch), but Lisl thought it needed to be punched up with something green, like a big handful of chopped parsely. I’m thinking maybe some parboiled baby spinach? Or perhaps an earthy porcini angle? I’d love to hear your ideas on improvements.
Farroto with Walnuts, Pecorino and Beans
serves 4
1/3 cup dried Mayacoba beans (or a favorite bean)
1/3 cup dried Vallarta beans (or a favorite bean)
1 1/4 cups semi-pearled farro
1/3 cup dry white wine or vermouth
2 to 3 cups vegetable broth (or chicken broth if you are not vegetarian)
2 cups reserved bean cooking liquid
1 medium yellow onion, chopped
1/2 cup walnuts, coarsely chopped
1/3 to 1/2 cup freshly grated pecorino cheese (orig. recipe uses parmesan)
1/2 tsp saffron threads
1 tbsp finely chopped fresh rosemary (or thyme)
salt and ground pepper
After checking the beans for any small pebbles, place them in a pot and cover with cold water an inch over the top of the beans. Bring to a boil, then let simmer for 40 minutes to an hour, until tender. About 15 minutes before they are done, soak the farro in cold water in another bowl and then drain, discarding soaking liquid.
Remove the beans with a slotted spoon to cool, and leave two or three cups of the cooking liquid in the pot. Add 2 cups of vegetable or chicken broth and bring to a boil, then turn off the heat.
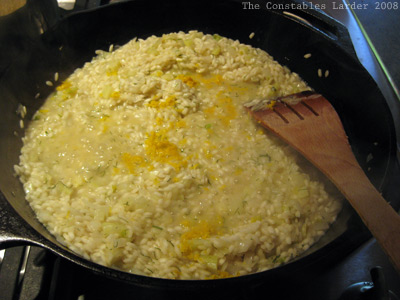
In a large saute pan with a high side (I like to use my large cast iron frying pan), heat up a tablespoon of olive oil over medium-low heat, then saute the onions until they start to turn translucent. Raise the heat to medium or just above, and add the farro, a pinch of salt, and stir for a minute or so. Then stir in the wine. Crumble in the saffron threads and begin stirring in the warm stock one ladle or 1/2 cupful at a time, treating it just like a normal risotto and not letting it get too dry. After about 3 1/2 cups of broth and 20-25 minutes, start checking to see if it is tender (but not mush). In my case, I found it took 4 cups and 30 minutes.
Turn the heat to its lowest setting, add another few pinches of salt and some grindings of pepper, and stir in the beans, walnuts, rosemary, and pecorino cheese. Taste for salt and pepper (gently stirring it in) — it will probably want a healthy amount in all.
Serve with a little extra grated cheese on top, and a medium-bodied red wine, such as a Rhone.